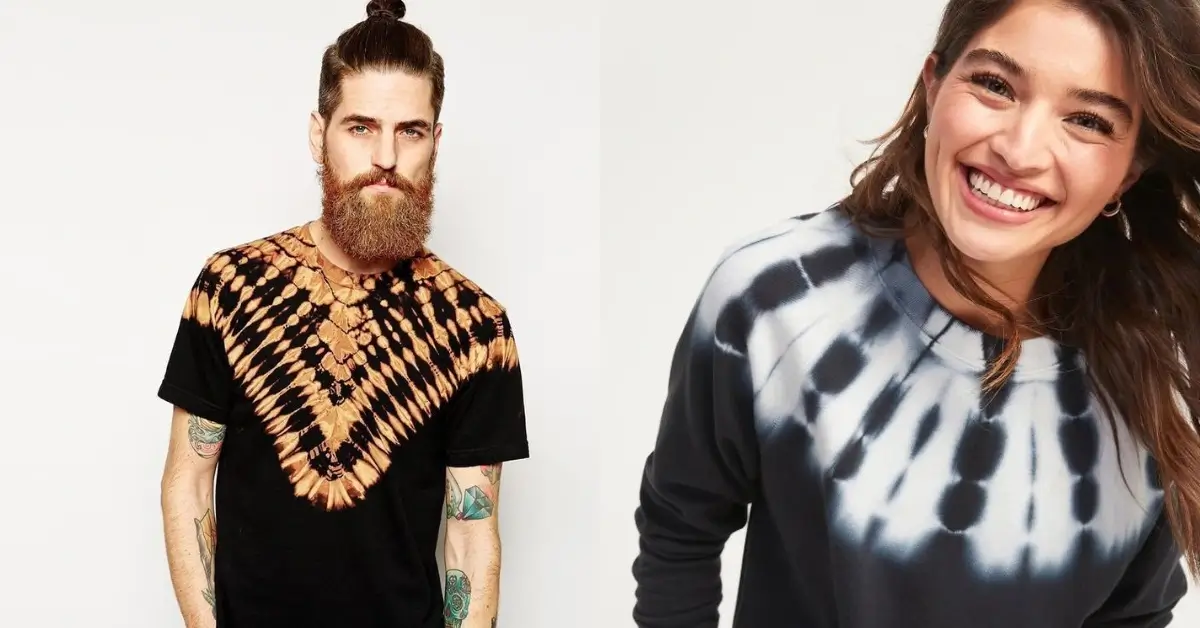
Unlocking the secrets of “How to Make a Shirt Look Vintage” could be your fashion-forward step into 2024’s nostalgic trends. No need to throw away your old and worn shirts.
It is more easy to transform your favorite shirt into a vintage art piece than you would think. Dive into our easy guide and explore different techniques like:
- bleaching
- sanding
- lemon juice fading
- washed Dye Technique
- razor blade distressing
It’s not just easy to create your own DIY Vintage Shirt, but it also brings up a lot more:
Upcycling an existing shirt instead of buying a new one reduces waste and supports a sustainable and eco-friendly lifestyle.
It’s money-safing, as well as a beautiful way to create unique pices for your wardrobe
Understanding the Vintage Look
Before diving into crafting your shirt’s vintage look, it’s essential to grasp the essence of vintage style. Vintage is synonymous with authenticity, echoing styles from past decades.
Key elements include color, design, and occasionally, logos of brands that may have evolved or disappeared over time. It’s not just about wearing old clothes; it’s about celebrating a period’s distinct fashion.
So, when aiming for that vintage vibe, focus on the details. Whether you’re repurposing genuine vintage pieces or crafting a new shirt, ensure it resonates with the charm and character of yesteryears.
How to Make a Shirt Look Vintage -Possible Techniques
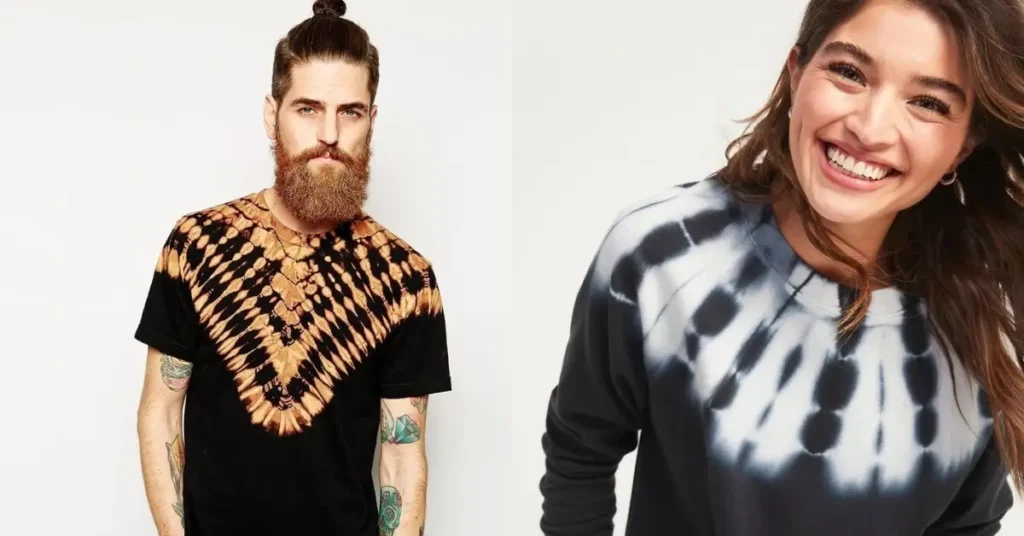
If you want to make your shirt look vintage, there are several techniques you can try. Here are some of the most effective methods:
Bleaching Technique
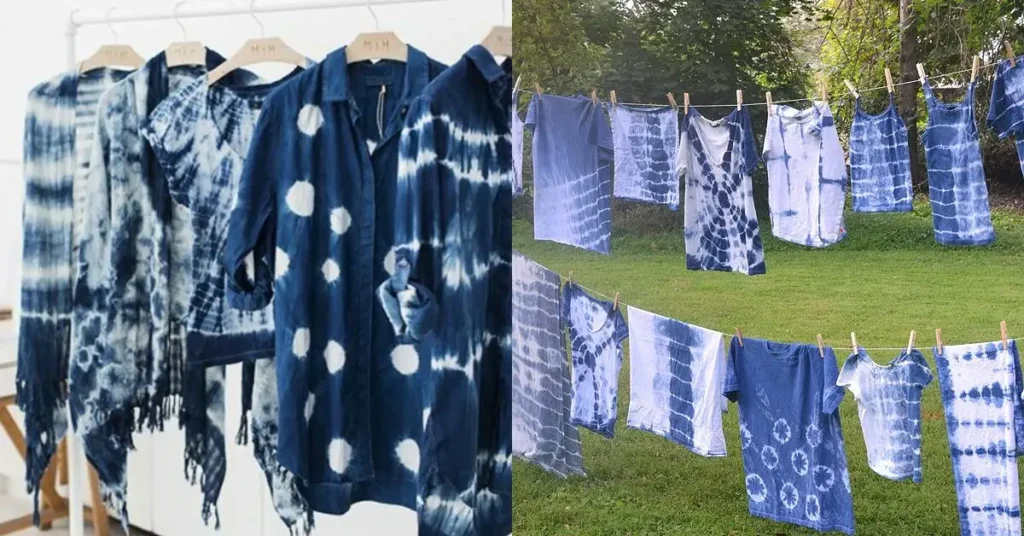
The bleaching technique involves using bleach to lighten the color of your shirt. You can use a spray bottle to apply the bleach, or you can dip your shirt in a bleach solution. This technique works best on dark-colored shirts. Be careful not to use too much bleach, as it can damage the fabric.
What You Need:
- Rubber gloves
- Bleach
- Spray bottle
- Cold water
- Plastic bags or a basin
Steps:
- Wear protective gloves to prevent skin contact with bleach.
- Dilute bleach with water (a 1:3 ratio is a good starting point) and pour it into a spray bottle.
- Lay the shirt flat on a protected surface.
- Spray the bleach solution on desired areas. For an all-over fade, you can soak the shirt in a basin filled with the bleach solution.
- Monitor closely. Once you achieve the desired lightness, rinse the shirt with cold water immediately to stop the bleaching process.
- Wash the shirt separately to remove all bleach traces.
Sanding Technique
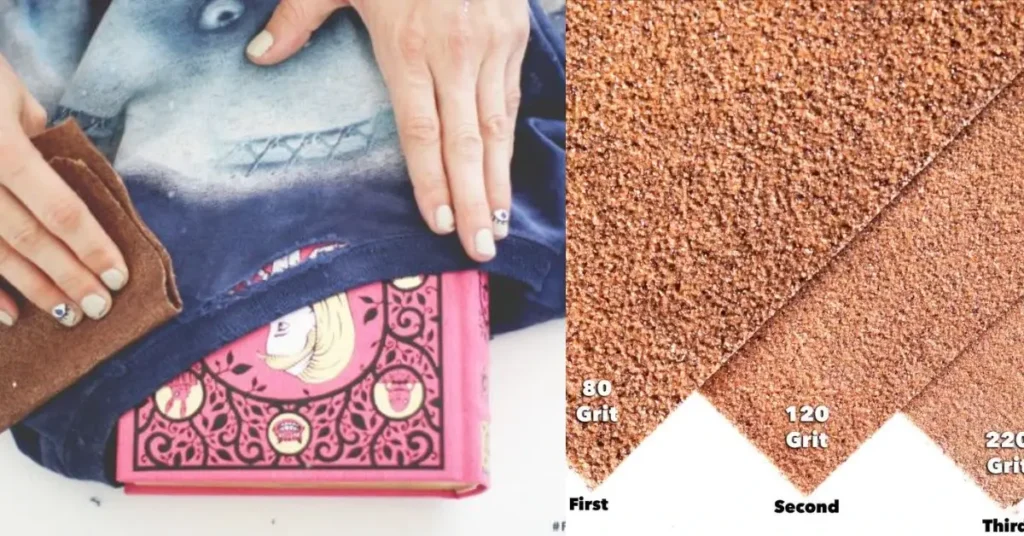
The sanding technique involves using sandpaper to create a worn-out look on your shirt. You can use fine-grit sandpaper to create a subtle effect, or a coarse-grit sandpaper to create a more noticeable effect. This technique works best on denim shirts.
Materials Needed:
- Different grits of sandpaper (fine to coarse)
Steps:
- Choose the areas you want to distress. Common areas include shirt edges, collars, elbows, and pockets.
- Rub the sandpaper against the fabric in a back-and-forth motion.
- For a subtle look, use fine-grit sandpaper; for a more pronounced worn-out effect, opt for coarse-grit.
Lemon Juice Fading
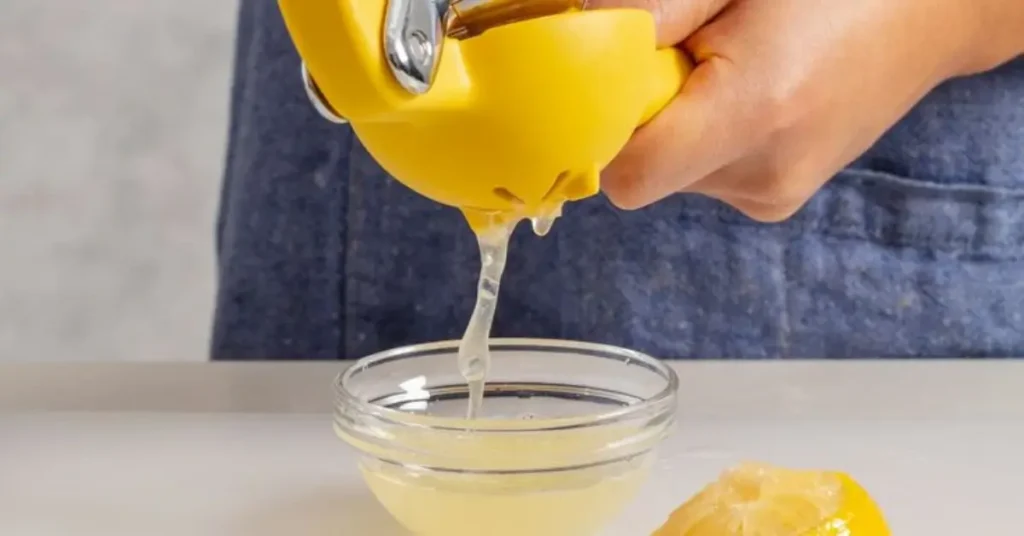
The lemon juice fading technique involves using lemon juice to fade the color of your shirt. You can apply the lemon juice directly to your shirt, or you can dilute it with water first. This technique works best on light-colored shirts.
Materials Needed:
- Fresh lemons or bottled lemon juice
- Spray bottle (optional)
Steps:
- Squeeze the lemons to extract juice. If desired, dilute with a little water.
- Apply directly to the shirt using a spray bottle or sponge.
- Allow the shirt to dry under the sun, enhancing the fading effect.
- Once dried, wash the shirt to remove lemon residue.
Washed Dye Technique
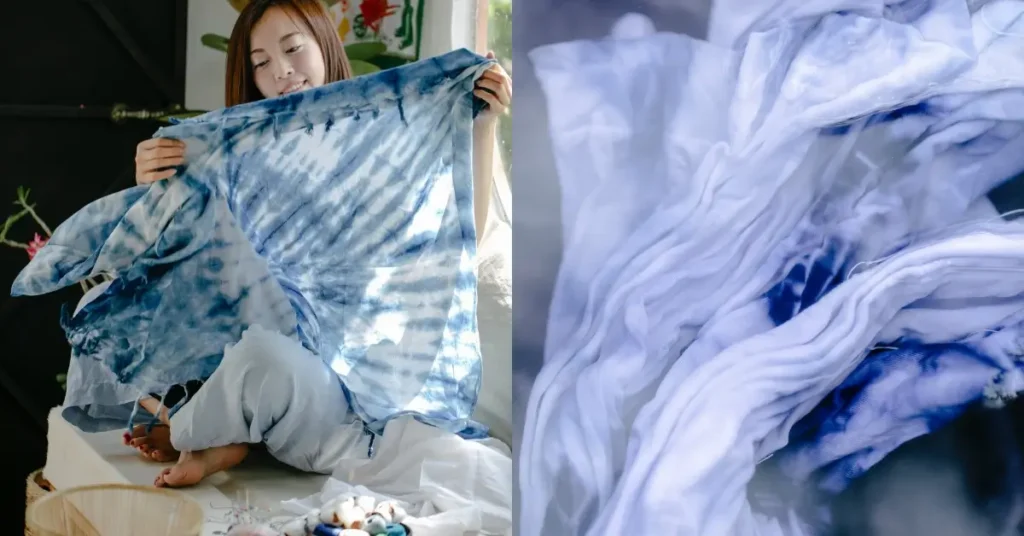
The washed-dye technique involves using fabric dye to give your shirt a faded, vintage hue. By immersing the shirt in dye for a shorter duration than usual, you achieve a lightly dyed, washed-out effect. This technique works best on cotton shirts or fabrics that absorb dye well, like linen or other.
If you aren’t sure, consider doing a test swatch before dyeing a larger piece.
- Materials Needed:
- Fabric dye (of your chosen color)
- Salt or soda ash (depending on the dye instructions)
- Hot water
- A basin or bucket
- Rubber gloves
- Steps:
- Prepare your dye solution by mixing the dye with hot water. Add salt or soda ash as a fixative, following the dye’s instructions.
- Wet your shirt thoroughly with clean water.
- Wearing rubber gloves, immerse the shirt in the dye solution. Instead of letting it soak for the full duration (as you would for a deep color), remove it after a short period to achieve a lightly dyed, washed-out effect.
- Rinse the shirt in cold water until the water runs clear, removing any excess dye.
- Wash the shirt separately for the first few washes to ensure any leftover dye doesn’t transfer to other garments.
Distressing with Razor Blade

The distressing with razor blade technique involves using a razor blade to create tears and rips on your shirt. You can use a sharp razor blade to create small tears, or a dull razor blade to create larger tears. This technique works best on cotton shirts.
Materials Needed:
- Razor blade or utility knife
- Cutting board or cardboard
Steps:
- Insert the cutting board or cardboard inside the shirt to protect the other side.
- Decide where you want the rips.
- Gently run the razor blade horizontally across the fabric, creating small snags. For larger rips, apply more pressure or go over the area multiple times.
- Tug at snags to enhance the distressed look
How to Make a Shirt Look Vintage –
Combining Techniques
You can also combine these techniques to create a more unique and personalized vintage look. For example, you can use the bleaching technique to lighten the color of your shirt, and then use the sanding technique to create a worn-out effect.
Or, you can use the lemon juice fading technique to fade the color of your shirt, and then use the distressing with razor blade technique to create tears and rips. The possibilities for the answer to “How to Make a Shirt Look Vintage” are endless!
Materials Needed for DIY Vintage Shirts
When it comes to making DIY vintage shirts, it’s important to have the right materials on hand. Here are some of the things we recommend having before you get started.
Choosing the Right Fabric
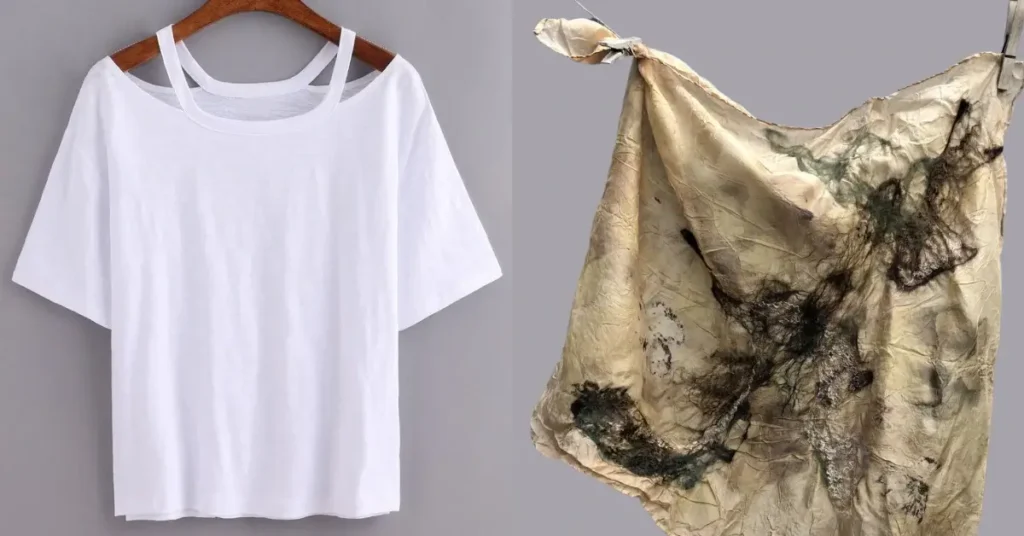
Natural Fibers will give you the best results
Selecting the appropriate fabric is a pivotal step in achieving that genuine vintage appearance for your shirt. Here’s a deeper dive into the world of fabrics and how to choose wisely:
- Natural Fibers: Natural fibers are typically more receptive to distressing methods and dyes. Among them, cotton stands out as a top choice. Its versatility and dye-absorbing properties make it perfect for vintage treatments. Linen, another natural fiber, offers a unique texture and tends to soften with age, giving it a nostalgic touch over time.
- Texture Matters: Fabrics with inherent textures or irregularities, like slub cotton, not only add visual interest but also enhance the vintage feel. These textures, whether subtle or pronounced, can replicate the wear and tear seen in genuine vintage pieces.
- Silk and Wool: Both are natural fibers known for their specific textures and appearances. Silk can take on muted, soft colors, adding a touch of elegance to the vintage feel, while wool, especially when untreated, has a rawness that can mirror old-world charm.
- Avoiding Synthetics: While some synthetic or blended fabrics can be made to look vintage, they often don’t distress or dye as effectively as natural fibers. Polyester, for instance, requires specialized dyes and doesn’t achieve the same weathered look as easily as cotton or linen.
- Weight and Weave: Consider the weight and weave of the fabric. Heavier fabrics can hold up to more aggressive distressing techniques, while lighter fabrics might be better suited for subtle treatments. A loosely woven fabric might fray more easily, adding to the vintage aesthetic.
The right fabric not only enhances the visual appeal but also ensures the longevity and authenticity of the vintage look you’re aiming for.
How to Make a Shirt Look Vintage –
Tools for Distressing
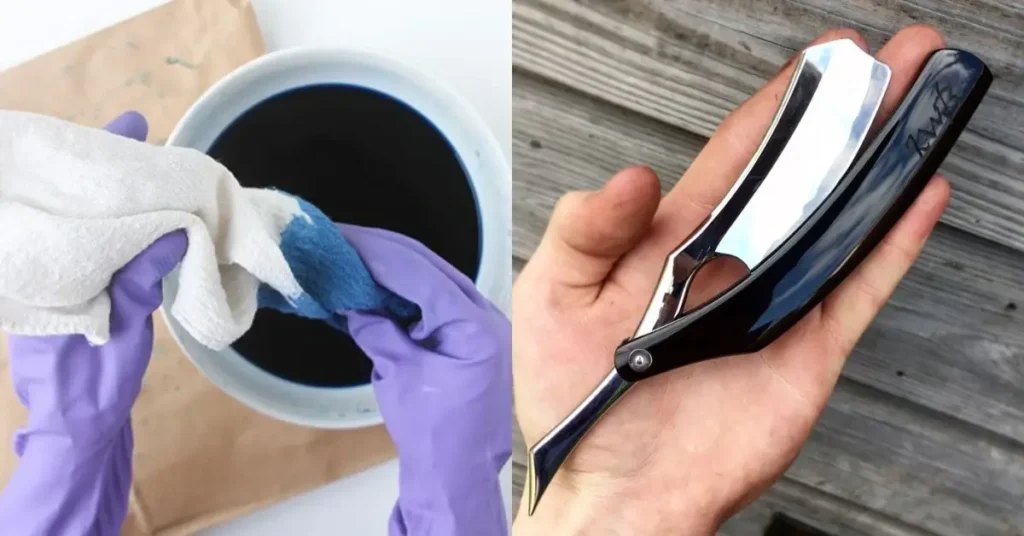
There are a few tools you’ll need to distress your shirt and give it that vintage look. Here are some of the most important ones:
- Rubber Gloves: You’ll want to protect your hands when distressing your shirt, as some of the materials can be rough on your skin.
- Sandpaper: to create a worn-out look on your shirt – fine-grit or coarse-grit, depending on the effect you want to have.
- Pumice Stone: A pumice stone can be used to create small holes and abrasions in your shirt, giving it a well-worn look.
- Razor Blade: A sharp razor blade can be used to create small cuts and tears in your shirt, mimicking the look of natural wear and tear.
- Cardboard: Placing a piece of cardboard inside your shirt while you’re distressing it can help prevent you from accidentally cutting through both layers of fabric.
- Sewing Machine: If you want to add patches or do any other sewing on your shirt, a sewing machine can be a helpful tool.
- Iron: An iron can be used to create creases and wrinkles in your shirt, giving it a more authentic vintage look.
When using these tools, be sure to work slowly and carefully, as it’s easy to overdo it and end up with a shirt that looks more damaged than vintage. With a little practice, however, you’ll be able to create a shirt that looks like it’s been a part of your wardrobe for years.
We would be happy to see some of your vintage DIY results!
Caring for Your DIY Vintage Shirt
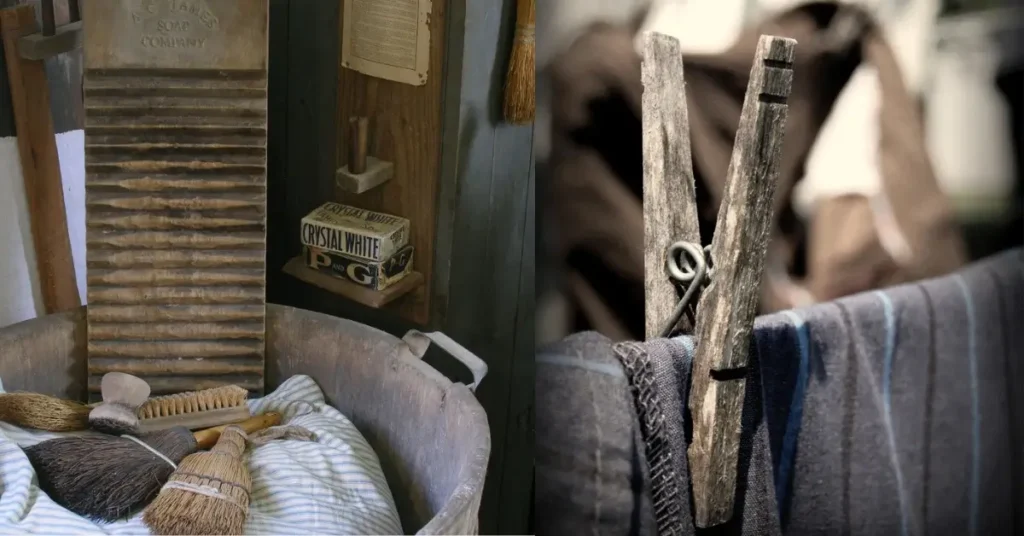
Once you’ve successfully transformed your modern shirt into a vintage one, it’s important to take proper care of it to ensure it lasts as long as possible. Here are some tips to keep your DIY vintage shirt looking great:
Washing and Drying
When it comes to washing your DIY vintage shirt, it’s best to avoid harsh detergents and hot water. Instead, use a gentle, cold wash cycle with a mild detergent. If possible, consider hand washing your shirt to avoid any damage to the distressed areas.
Once your shirt is clean, avoid using a dryer if possible. Hang your shirt to dry instead, which will help preserve the distressed look. If you do need to use a dryer, set it to a low heat setting and remove the shirt as soon as it’s dry to prevent any additional wear and tear.
Handling and Storage
When handling your DIY vintage shirt, try to avoid pulling or tugging on the distressed areas. This can cause the fabric to tear or become more distressed than intended. Instead, handle the shirt gently and with care.
When storing your DIY vintage shirt, make sure it’s folded neatly and stored in a cool, dry place. Avoid hanging the shirt for long periods of time, as this can cause the fabric to stretch and lose its shape.
How to Make a Shirt Look Vintage –
My Own Experiences
During my foray into the world of DIY vintage shirts, I stumbled upon an old denim piece in my wardrobe. I didn’t want to throw it away and asked myself how to make a shirt look vintage.
Deciding to revitalize it, I tried the sanding technique. I started with fine-grit sandpaper to first get a feeling for it and how to do the moving on the shirt. After a few minutes, I felt safe for the coarse-grit sandpaper and gave it a try.
Concentrating on areas like the elbows and collar, the shirt was transformed from outdated to fashionably vintage in under one hour. The time spent can obviously vary a lot depending on the effect you want to achieve.
In another experiment, I utilized lemon juice to fade a shirt. As I am a big lemon fan, generally, I really wanted to try this out. In the end, I was quite happy with the result!
But please take care, that the lemon juice isn’t on the shirt for too long. It could weaken the fabric fibers and reduce the shirt’s lifespan.
Hopefully, you are now able to try it out yourself and know “How to Make a Shirt Look Vintage”. We would be happy to hear about your experiences in the comments.
How to Make a Shirt Look Vintage with Sandpaper?
Rub sandpaper on areas of the shirt you want to distress, focusing on hems, seams, and cuffs for a naturally worn, vintage appearance. Wash it afterward to enhance the effect
How to Make a Shirt Look Vintage without Damage?
For a non-damaging vintage look, wash the shirt with a rock salt mixture, use a tea stain for an aged color, and air dry in the sun. Pair with classic vintage accessories to complete the style.
How to Make a Shirt Look Vintage with Razor Blades?
Carefully use a razor blade to create light, frayed edges on the collar, sleeves, and hem. Gently scrape along the fabric for subtle distressing. Always exercise caution to avoid cutting too deeply.

